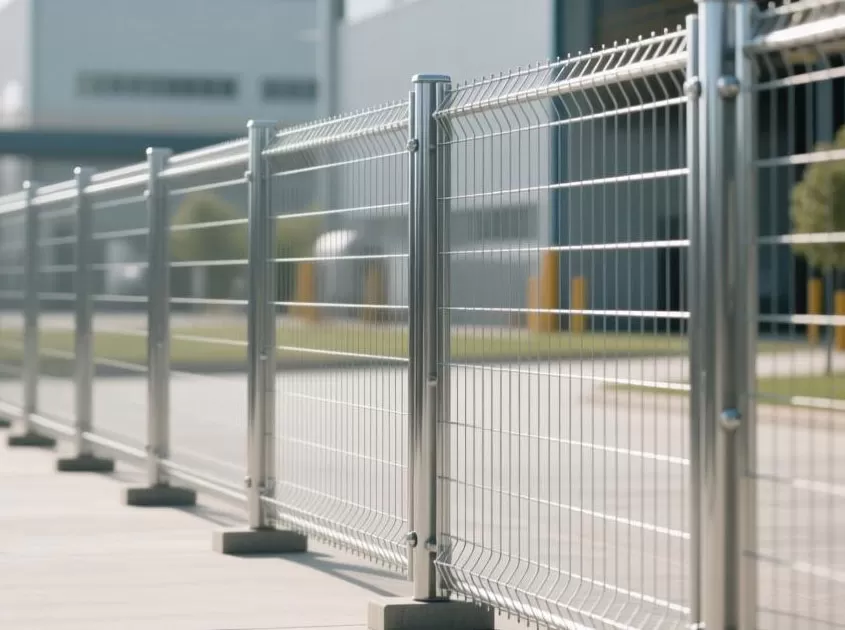
A DIY Adventure: Step-by-Step Guide to Galvanizing Iron Wire at Home
Galvanizing iron wire is a fascinating and useful DIY project that allows you to add a layer of corrosion protection to your iron wire, making it more durable and rust-resistant. Whether you're a hobbyist or a DIY enthusiast, this step-by-step guide will walk you through the process of galvanizing iron wire at home, turning ordinary iron wire into a rust-fighting powerhouse.
Materials You'll Need
Before diving into the process, gather the following materials:
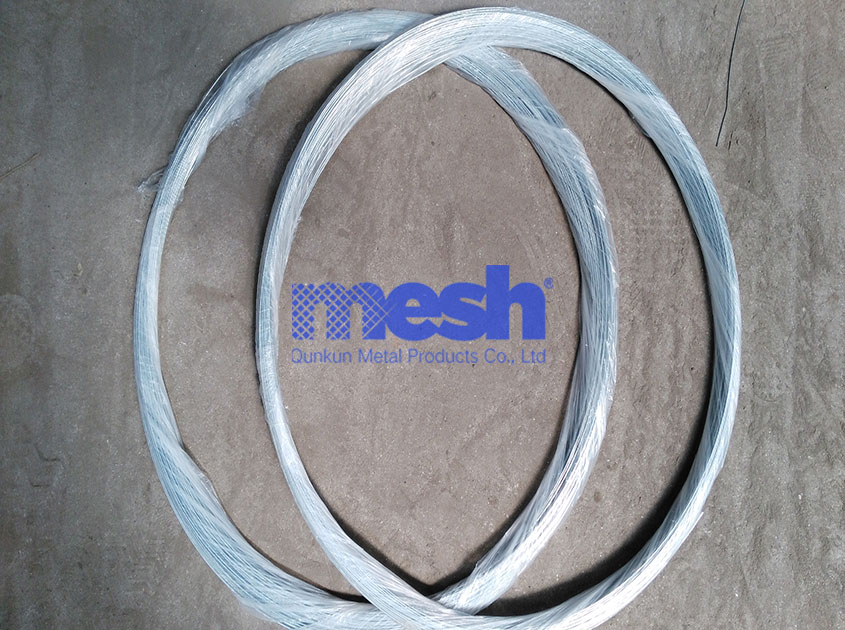
Iron Wire: Start with the iron wire you want to galvanize.
Zinc Dust or Powder: You can purchase this from hardware stores or online.
Flux: A substance to aid in the bonding of zinc to the iron. Zinc chloride or ammonium chloride is commonly used.
Heat Source: A propane torch or a kiln can be used for heating.
Safety Gear: Wear gloves, safety glasses, and a dust mask to protect yourself from zinc dust and fumes.
Container: A heat-resistant container to hold the zinc and flux mixture.
Tongs: To handle the wire during the process.
Prepare Your Workspace
Safety first! Set up your workspace in a well-ventilated area, preferably outdoors. Ensure you have a clear, fire-resistant surface to work on. Place your materials nearby for easy access.
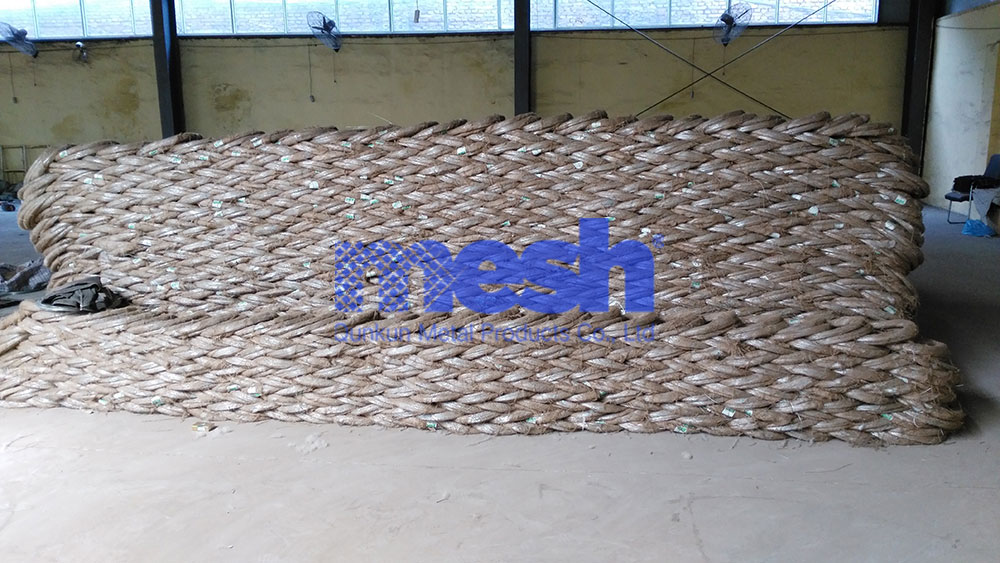
Galvanizing iron wire at home is an engaging and rewarding DIY project that empowers you to enhance the longevity and durability of your materials. By following this step-by-step guide, you can confidently tackle this process and enjoy the benefits of rust-resistant iron wire in your various projects. Whether you're building structures, crafting art, or working on DIY repairs, your galvanized iron wire will stand the test of time, offering enhanced corrosion protection and peace of mind.
-
 Best Chain Link Fence for Security Applications Feb 10, 2026
 Best Welded Wire Mesh for South American Markets Feb 03, 2026
 Why Galvanized Wire Mesh Is Popular in South America Jan 26, 2026
 How to Check the Quality of Welded Wire Mesh Jan 16, 2026

- Tel.: +86 311 83077076
- E-mail: sales@qunkunmetal.com
- Skype: qunkunsales01
- WhatsApp: 8618032412189
- Add.: No.69 The Filter Industrial Part of Anping, Hebei, China


